Exporting Capsules to your local machine
Steps for running code as you find it on Code Ocean locally.
Code Ocean allows authors and readers to download an entire Capsule. Click the Capsule tab in the menu and select Export:
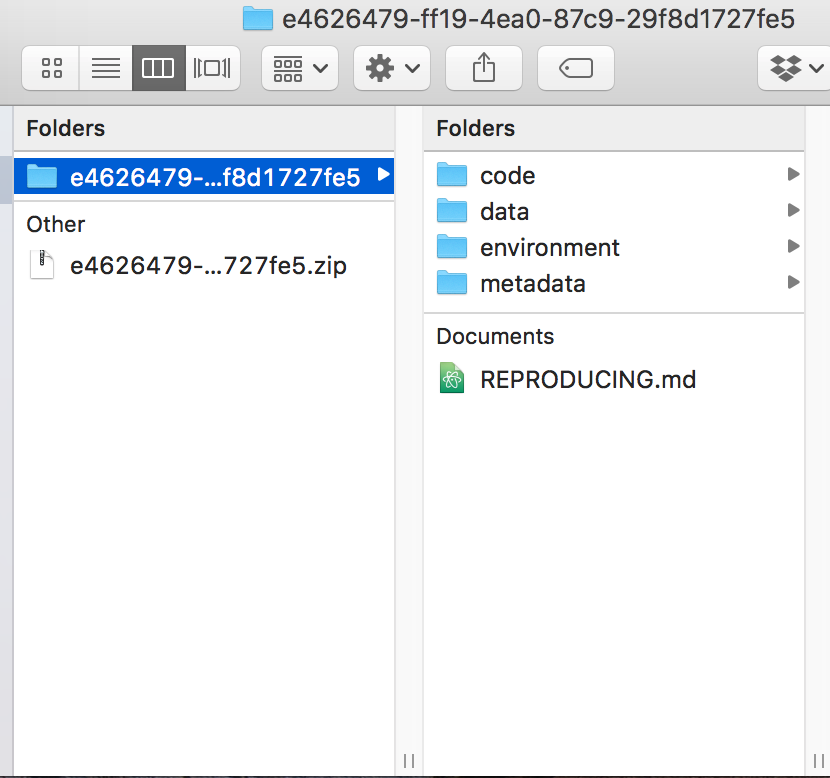
This will prompt a download screen where you can download the environment template, metadata, code, and, optionally, the data. When you unzip this, you will see something like the following (this screenshot comes from a Mac):
/codehas your capsule's code, and/datahas your capsule's data if you chose to include it as part of the export./metadatahas a file calledmetadata.ymlThe
/environmentfolder contains, at a minimum, a file calledDockerfile. If you've employed a postInstall script, you will see apostInstallfile as well.Dockerfileis the recipe for rebuilding your Capsule's computational environment locally. Each will begin with a line like:This tells the Dockerfile from where to pull the Docker image. If the environment has been customized further, there will be more commands like:
and so on.
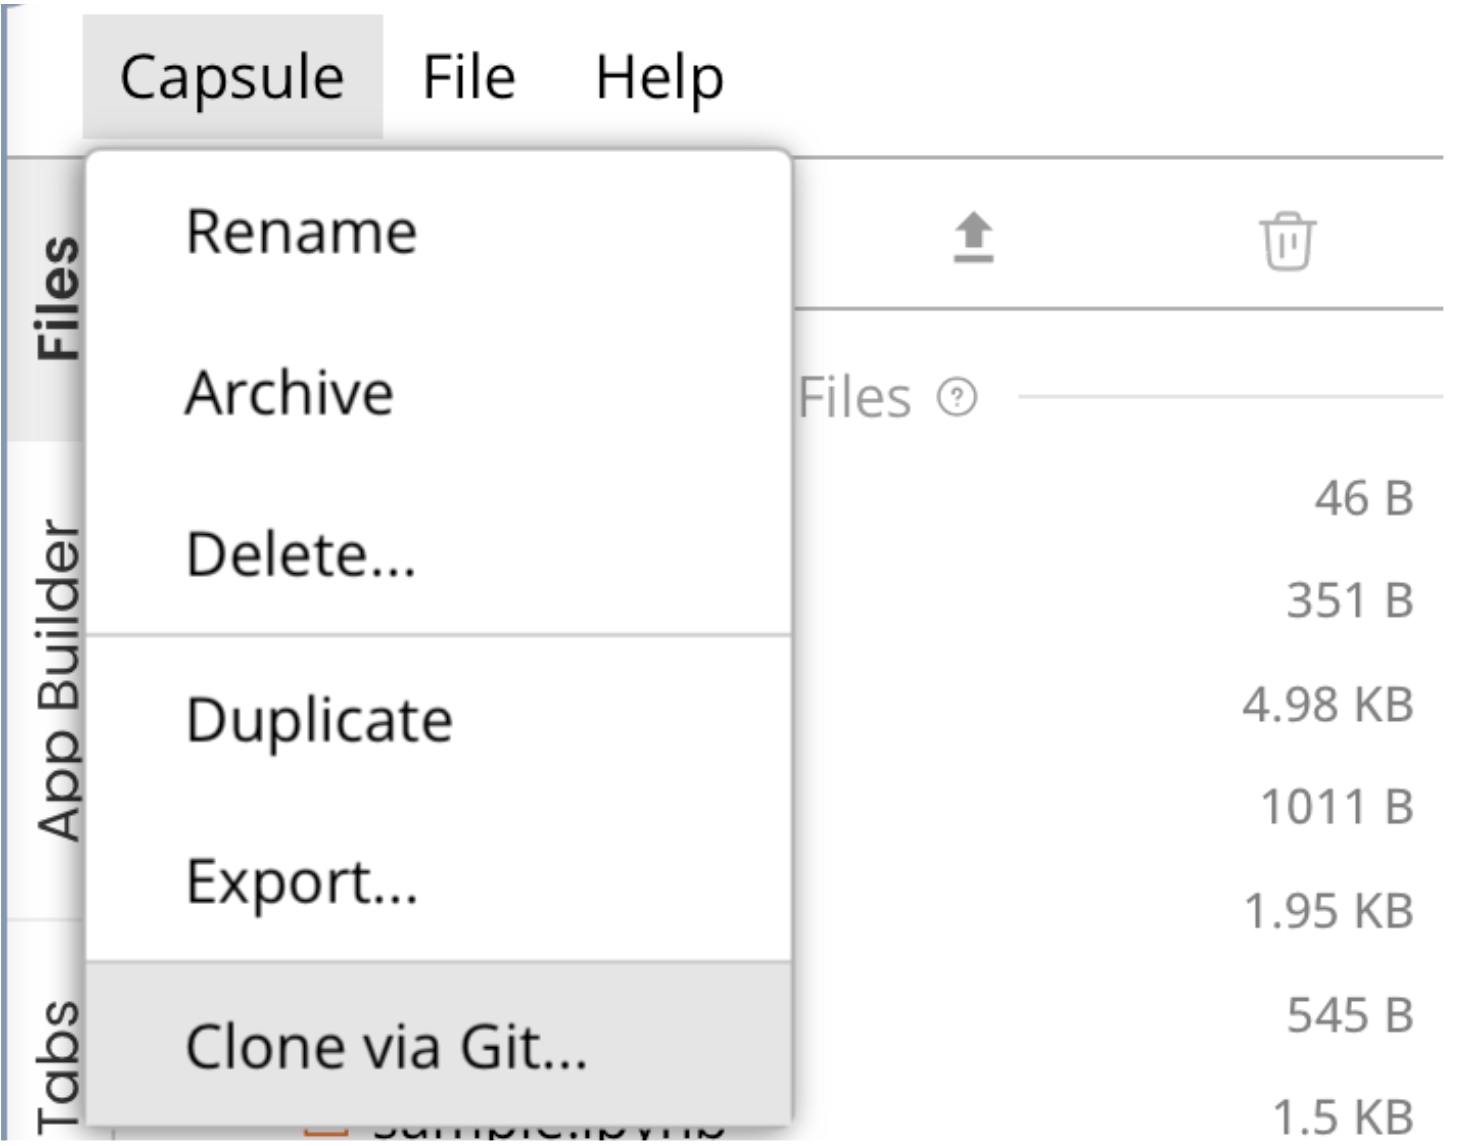
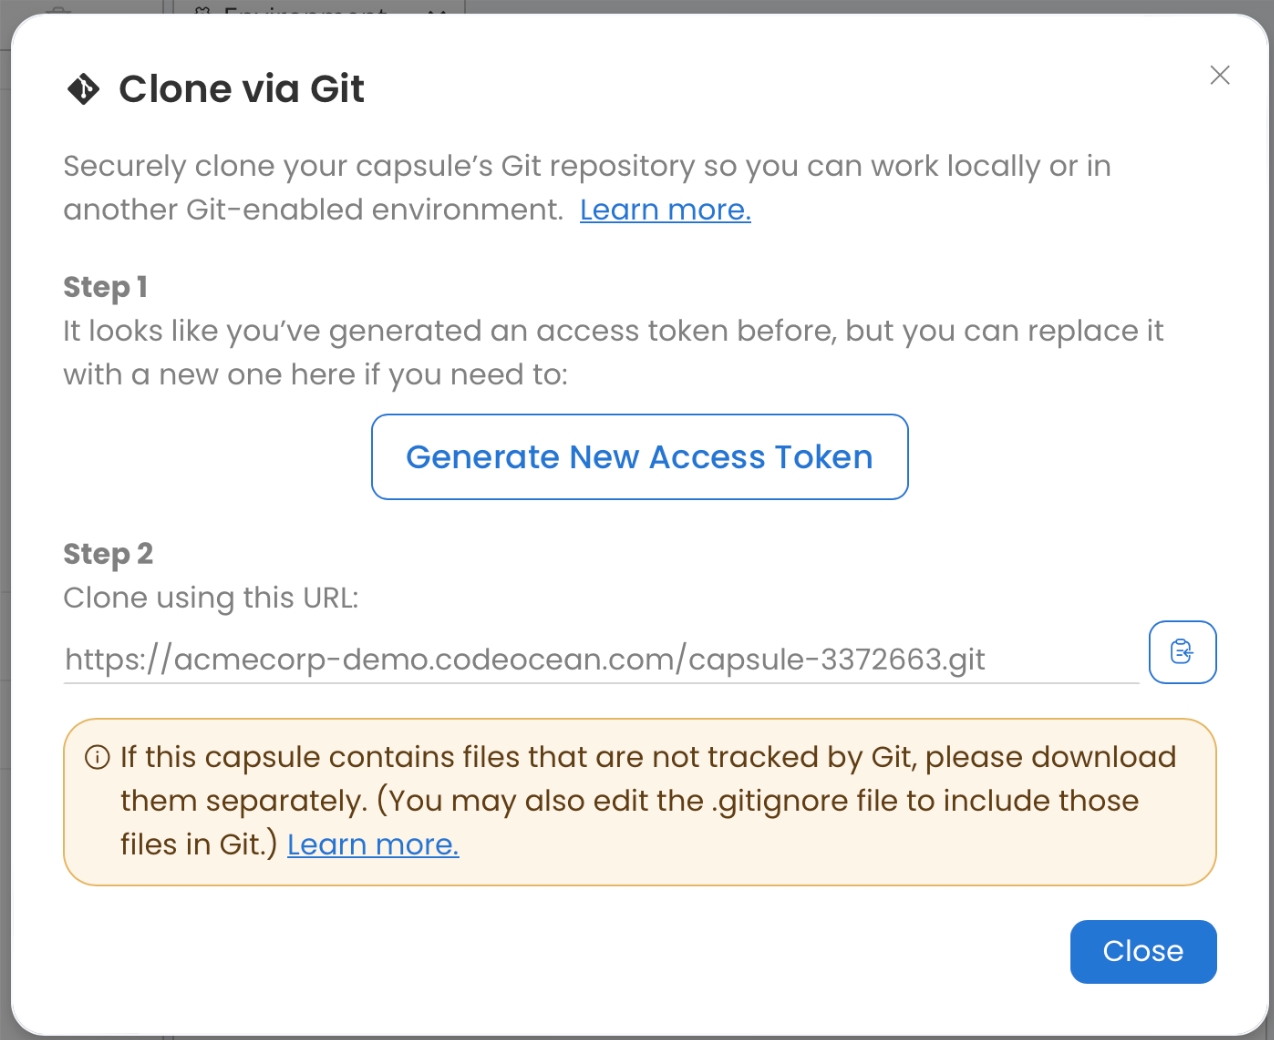
Alternatively, all Git tracked files can be exported as a Capsule repository via Capsule -> Clone via Git.
To access this Capsule, the username and password will be the email used to log into your Code Ocean deployment and the personal access token generated on the box with the link to clone
(This is the recommended practice if you are going to continue to make commits and changes to the Capsule, so that changes can continue to be tracked). The data will have to be transported separately.
To reproduce your Capsule outside of Code Ocean, the steps are as follows:
Prerequisites:
Complete the following:
Ensure docker can be used on your local machine and is installed
Generate an API key in your Code Ocean User Account (More information can be found here)
Logging into the docker registry
In the exported/cloned capsule directory on your local machine, run the command
The registry for docker login can be found on the FROM statement on the first line of your Capsule Dockerfile (for example, the registry from the below example is registry.codeocean.com)
The registry can also be found at the end of a buildLog of a successful capsule environment build
After you execute the docker login command you will be prompted for a password - enter the API key previously generated
Locating/Copying capsule identifier
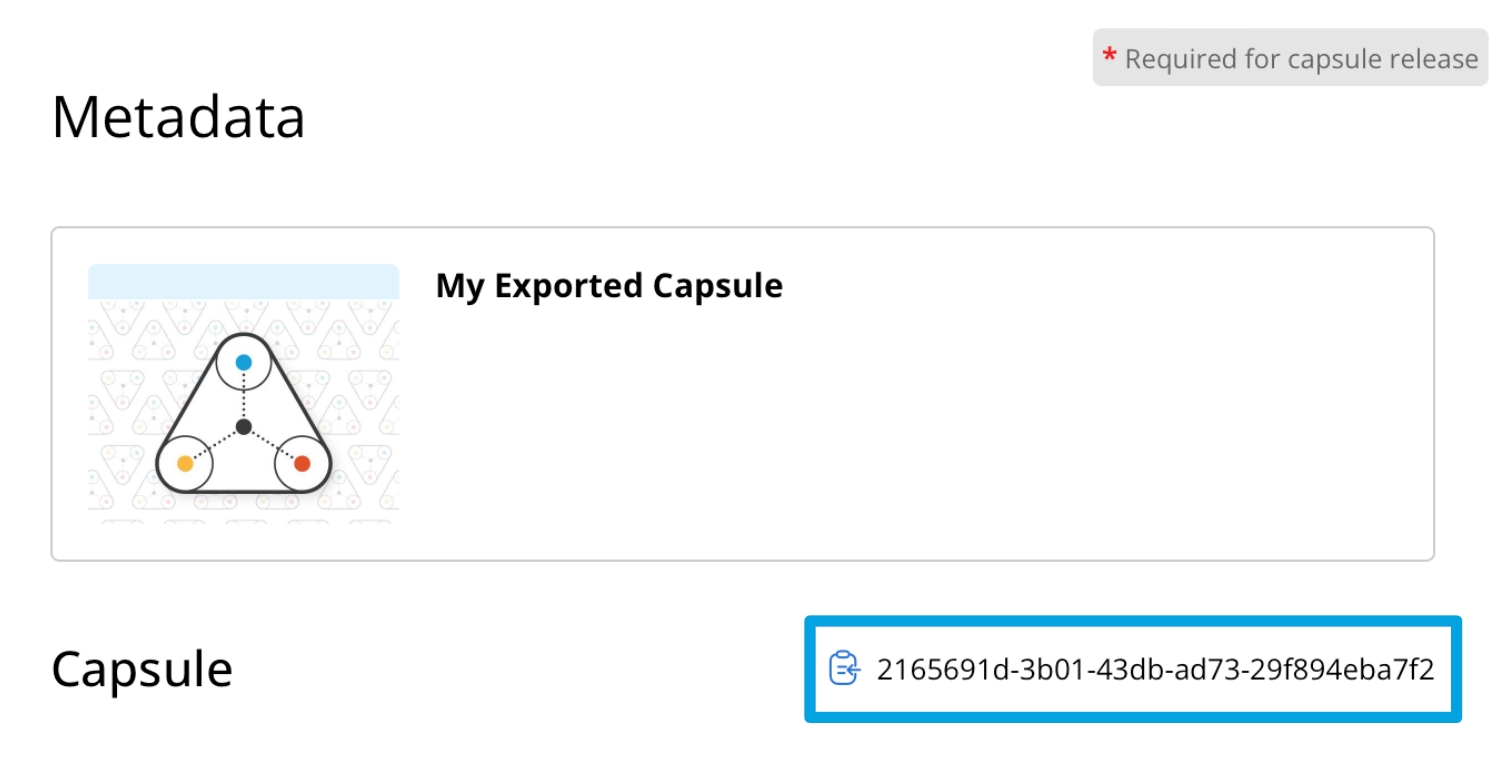
In the capsule you would like to run on Code Ocean, find the metadata tag in the metadata section
Click the clipboard icon to copy it.
Running your capsule
On your local machine, navigate to the exported capsule directory and run the following command
In your exported capsule directory, the results will appear in the ./results directory
When exporting a capsule as a zip file, the unzipped folder will contain a file REPRODUCING.md which contains the above mentioned instructions for how to reproduce the Capsule's results locally, with notes on the necessary prerequisites and commands.
Reproducing your results locally is likely to be less user-friendly than reproducing results on Code Ocean. Docker requires some familiarity with the command line.