Managing Pipelines
Sharing Pipelines
Sharing a Pipeline means that others can continue working from what you’ve developed—either in the same Pipeline or in a duplicate Pipeline.
You can set Pipeline permissions to collaborate with users and groups within your organization. Only authorized users can view/duplicate, or edit your Pipeline. Shared Pipelines are updated in near real-time on any changes made in the Pipeline.
It is best practice to utilize Group sharing to ensure that new users will have all relevant Pipelines available to them when they join, and that there will be no lost assets when team members leave. Reach out to your Admin to configure Groups through your company’s chosen Identity Provider.
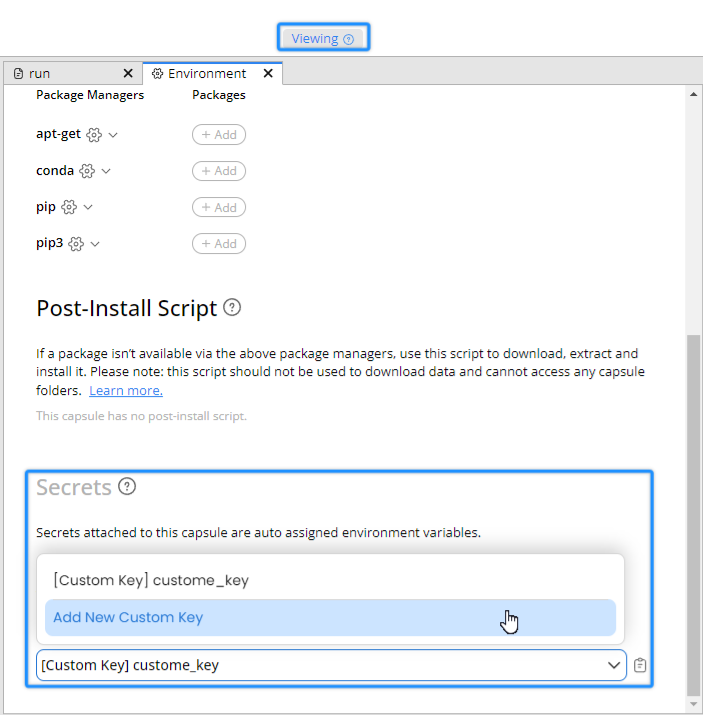
You can share a Pipeline with secrets/credentials just like any other Pipeline. To learn more about setting up secrets in Code Ocean, refer to the Secret Management Guide.
Navigate to Running a Pipeline with Secrets to learn how to run a shared Pipeline with a secret.
Managing Pipeline Permissions
The three types of permission for a Pipeline are: Owner, Editor, and Viewer.
Action | Viewer | Editor | Owner |
View a Pipeline | ✅ | ✅ | ✅ |
Download a Pipeline | ✅ | ✅ | ✅ |
Export a Pipeline | ✅ | ✅ | ✅ |
Edit files in a Pipeline | ❌ | ✅ | ✅ |
Execute a Reproducible Run | ✅ | ✅ | ✅ |
Work from a Cloud Workstation | ❌ | ✅ | ✅ |
Edit Pipeline's permissions | ❌ | ✅ | ✅ |
Delete a Pipeline | ❌ | ❌ | ✅ |
Setting Permissions for Collaborators
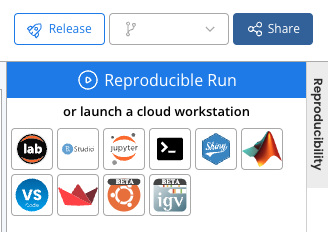
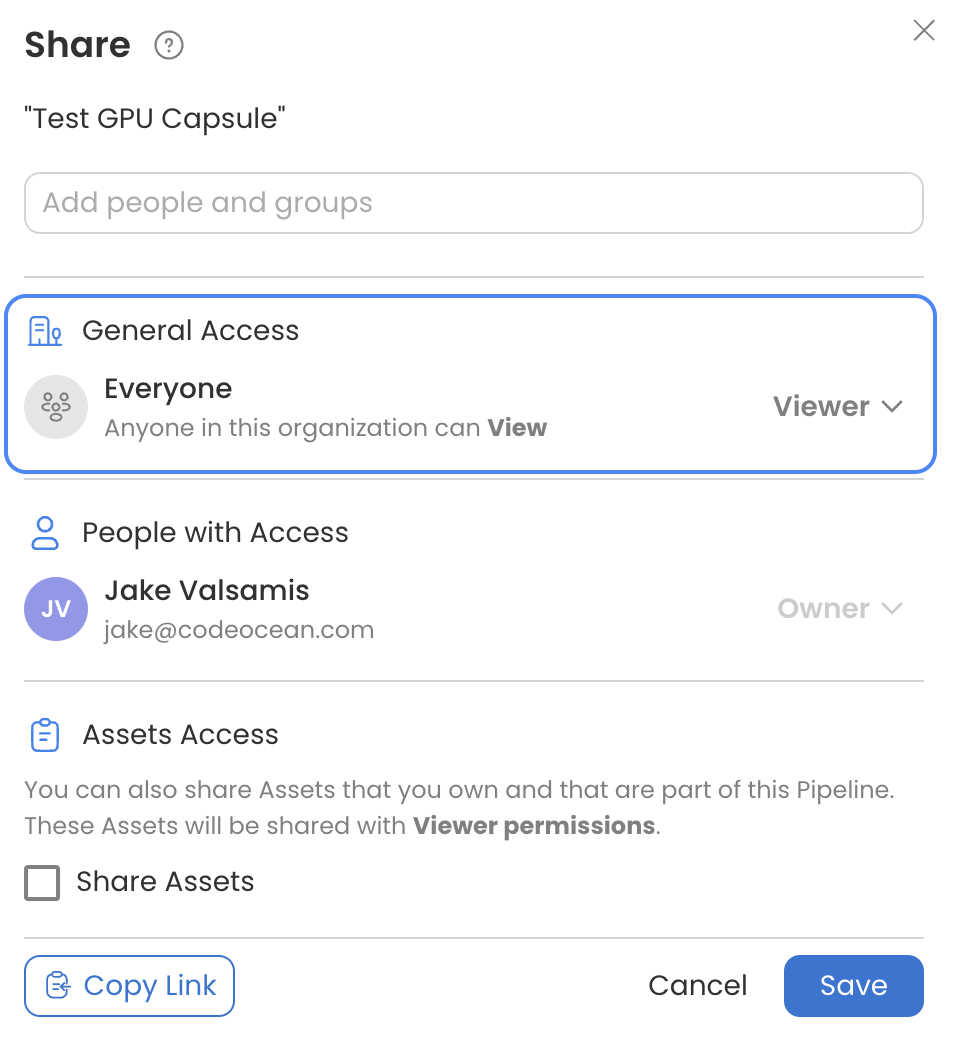
Click Share at the top right corner of the Pipeline. A permissions setting form opens.
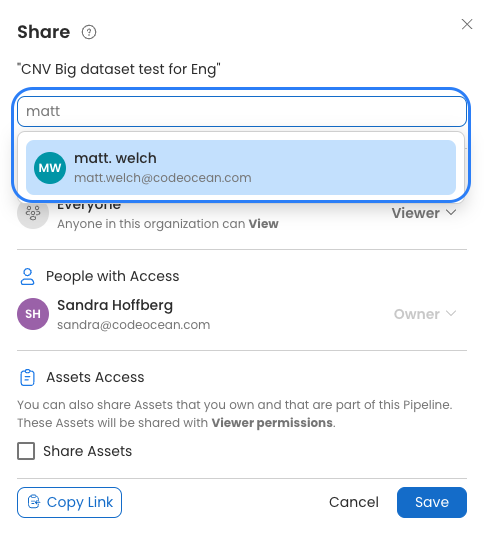
Type the name of the collaborator to invite or select the name from the drop-down menu. If groups are set up in your organization, they will also appear in the drop-down menu.
Click the desired user’s name/email address in the dropdown to add the collaborator. The system adds the user to the Pipeline permissions list. The permission is set as Viewer by default
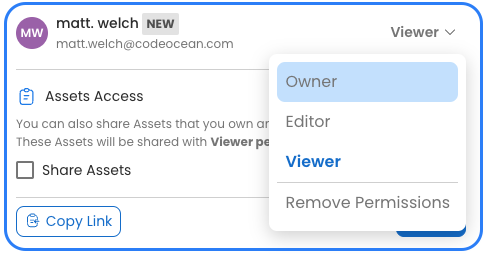
To change a user's permissions or remove a user, click the down arrow next to the user, and choose the relevant option.
Click Save in the bottom right corner of the pop up to close the Pipeline permissions setting form.
To make a Pipeline visible to all internal users, under General Access, Everyone select Viewer
To share the Pipeline with Data Assets check Share Assets. To share only the Pipeline without Data Assets ensure that Share Assets is deselected.
You can add more than one collaborator by repeating steps 2-3 before Saving
Modifying/Removing Collaborators from the Pipeline Permissions
Click Share at the top right corner of the Pipeline. A permissions settings form opens.
Navigate to the collaborator you want to modify.
To change a user's permissions or remove a user, click on the drop-down menu next to the user, and select the relevant option.
Click Save to close the Pipeline permissions setting form.
Owner/Admin Ability to Capture, Delete, and Rename Runs
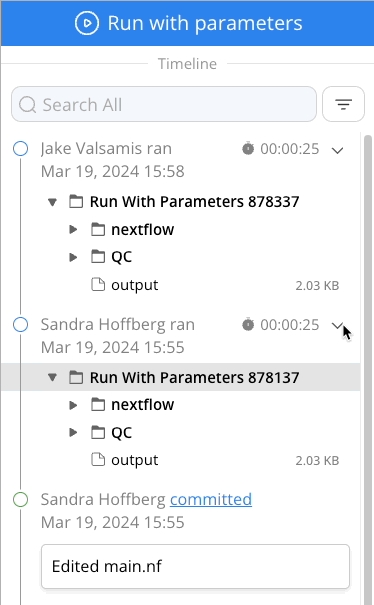
Capsule Owners and Admins have the ability to rename and delete runs from other users, as well as create Result Data Assets from those runs. Code Ocean Admins also have the ability to see all runs on Release Capsules and rename or delete those runs.
Working on a Shared Pipeline
View Mode
When you add a collaborator with the permission to view the Pipeline, the collaborator can view all the folders and files from the Pipeline IDE, download individual files, export, and duplicate the Pipeline.
To execute or modify code in the Pipeline as a Viewer, you will need to duplicate the Pipeline prior to editing.
Anyone with View Access can attach secrets to the Pipeline that is shared with them
Edit Mode
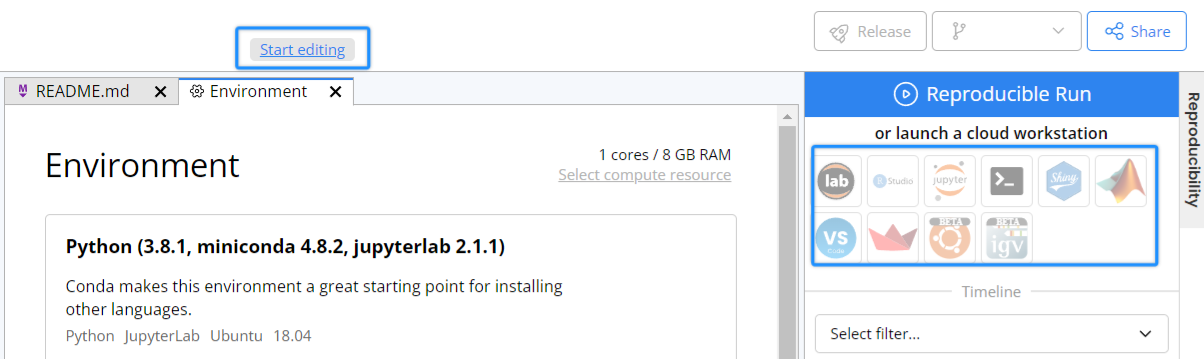
When you share a Pipeline with the edit permission, the collaborator can change any file's content and execute code in a Pipeline. Only one user can edit the shared Pipeline at any given time. All collaborators can view the same Pipeline simultaneously. When a collaborator is editing the Pipeline, all others will see the Pipeline in the view-only mode indicated by a message on top of the center section of the Pipeline IDE and the deactivated buttons in the right Timeline section.
Click Start editing to begin editing above the Editor in the center. If a collaborator's name appears in the message, they are forced into the read-only mode after your click.
Before you Start edit the Pipeline when a collaborator appears to be editing, it is strongly recommended that you communicate with your collaborator in advance, so they don't lose their work.
Duplicating a Pipeline
How to create a private copy of either released or unreleased code
Duplicating a Pipeline allows you to create a copy of it while keeping the original unchanged. To duplicate a Pipeline:
Navigate to your My Pipelines Dashboard,
Click on the Pipeline you would like to duplicate, which will open the Pipeline IDE
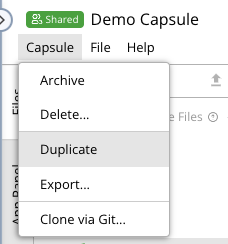
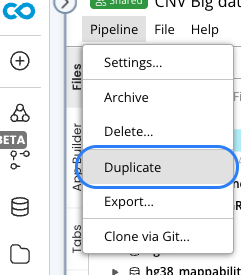
Click Pipeline in the menu at the top of the screen
Select Duplicate. This process will create an exact copy of the Pipeline, which will be added directly to your My Pipelines Dashboard
Archiving a Pipeline
Pipelines and Data Assets can be archived to reduce clutter in the Pipelines/Data Assets list. Archiving removes a Pipeline/Data Asset from the 'All' view, making them accessible through the Archive view
Navigate to your My Pipelines Dashboard.
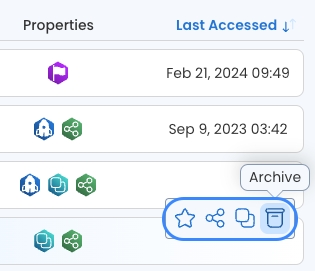
To archive a Pipeline directly from your dashboard, click the Archive icon associated with the relevant Pipeline
Restoring an Archived Pipeline
Once a Pipeline is archived, it can be easily restored
To view your archived Pipelines, click the Go to Archive icon in top right of your My Pipelines Dashboard . All of your archived Pipelines will be listed on this screen.
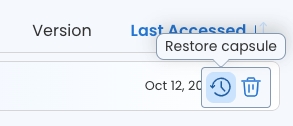
To restore a Pipeline from the Archive, scroll the cursor over the Pipeline and click the Restore Pipeline icon.
Once all desired Pipelines have been restored, click Back to My Pipelines to return