Compute Resources
A computation, Reproducible Run or Cloud Workstation, launched from the Capsule runs as a Docker container that occupies a compute slot in an EC2 instance on AWS. The instance type is determined as the base on the starter environment that you choose, such as a general machine or one with GPU support.
After you select the starter environment, you can select compute resources to change the number of slots you wish to allocate for your computation. The default compute resource depends on the machine type of the starter environment.
Setting Compute Resources
From the Environment editor, click on Select Compute Resources.
Select the allocation type.
Select the compute slot.
Click on Save.
Methods of Allocating Compute Resources
A Capsule allocates compute resources in two ways:
Flex
Dedicated
Flex Machine
Flex resources are the default option for running your Capsule. This method attempts to allocate selected compute resource (slot) on a running worker machine such as EC2 instance, in the fleet of workers for each computation. If none of them have enough available slots, a new machine is added to the fleet in order to meet the need. This allows low-intensity computations to run on the same EC2 instances to reduce the cost by avoiding turning on an additional instance.
Using flex resources ensures your organization gets the most value out of running machines in your deployment. When all slots become empty, for example, no computation on the EC2 instance, the EC2 instance will shut down automatically after one hour, or for a time specified in the deployment plan. To allocate the resources more efficiently, the system will shut down a Cloud Workstation session after two hours, for a time specified in the deployment plan of session idleness (CPU <2%) to free the compute slot.
If you select a more powerful compute resource for a Capsule, it requires more available compute slots to launch a computation instantly. It may increase the chance of activating a new EC2 instance which could increase both cost and waiting time.
Dedicated Machine
Choosing a dedicated machine will spin up a new Amazon EC2 instance exclusively for your computation. There are dedicated machines with a wide range of specifications, for example, CPUs from 0.5 GB RAM to 4000 GB RAM, to ensure that there are always resources available to match your needs.
Use this method when you have a computation with high compute demand or need a specific configuration for the EC2 instance. Keep in mind that it takes approximately two minutes to start up a new instance and the more powerful machine you choose, the higher the hourly cost (Refer to AWS EC2 pricing website for more details). You also have the option to choose the spot instance to reduce cost.
The EC2 instance will shut down directly after the computation is complete that is, the machine will shut down immediately after the reproducible run ends or the Cloud Workstation session is closed. The system will shut down a Cloud Workstation session after the session is idle (CPU <2%) for two hours (or for a time specified in the deployment plan) and terminate the machine.
Spot Instances
Spot instances allow you to take up unused capacity of a currently running dedicated machine at less than one tenth of the original cost. Since you did not reserve the machine, you may be kicked off without notice.
Provisioning sufficient resources
To determine if your capsule needs higher compute resources, you can monitor usage and RAM metrics in two ways:
At the top of your screen when in a Cloud Workstation
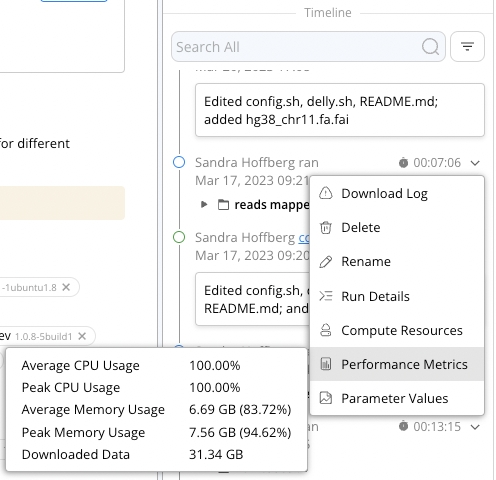
2. In the capsule timeline after a Reproducible Run
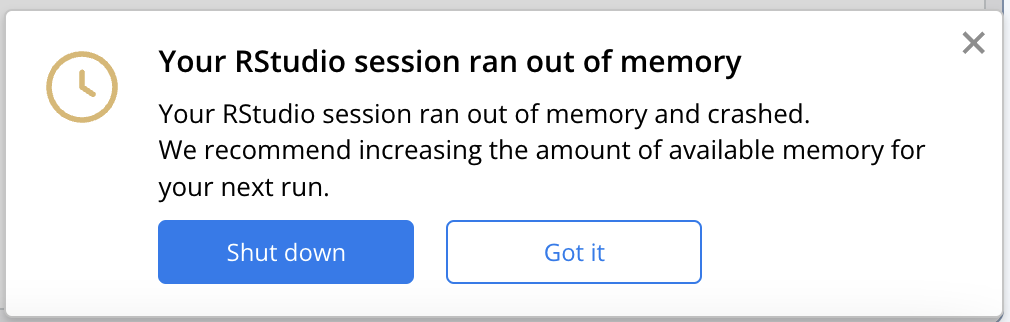
If your computation exceeds the resources you’ve allocated in a Cloud Workstation, you will get an error message such as:
If your computation exceeds the resources you’ve allocated during a Reproducible Run, your run will end abruptly. If there are no flex machines with more resources, you should use a dedicated machine. Start by slowly increasing the memory and cores of your dedicated machine depending on your use case.
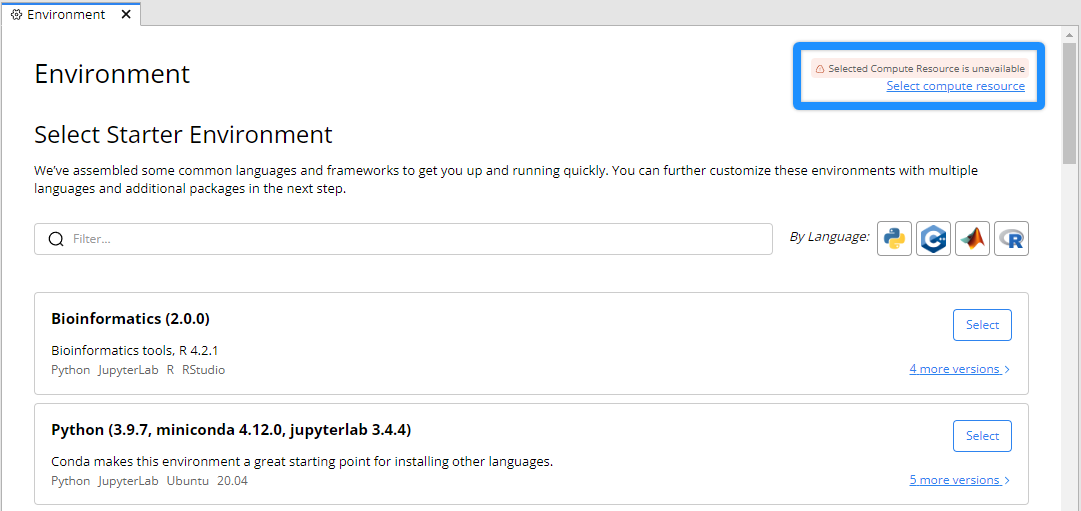
User Interface Feedback
When a dedicated machine/resource is no longer available, the feedback displays on the screen.