Using Data Assets in a Capsule
Attaching Data Assets to a Capsule
A single Data Asset can simultaneously be used by multiple users across many Capsules or Pipelines. This is possible because Data Assets are independent cloud storage.
From the IDE
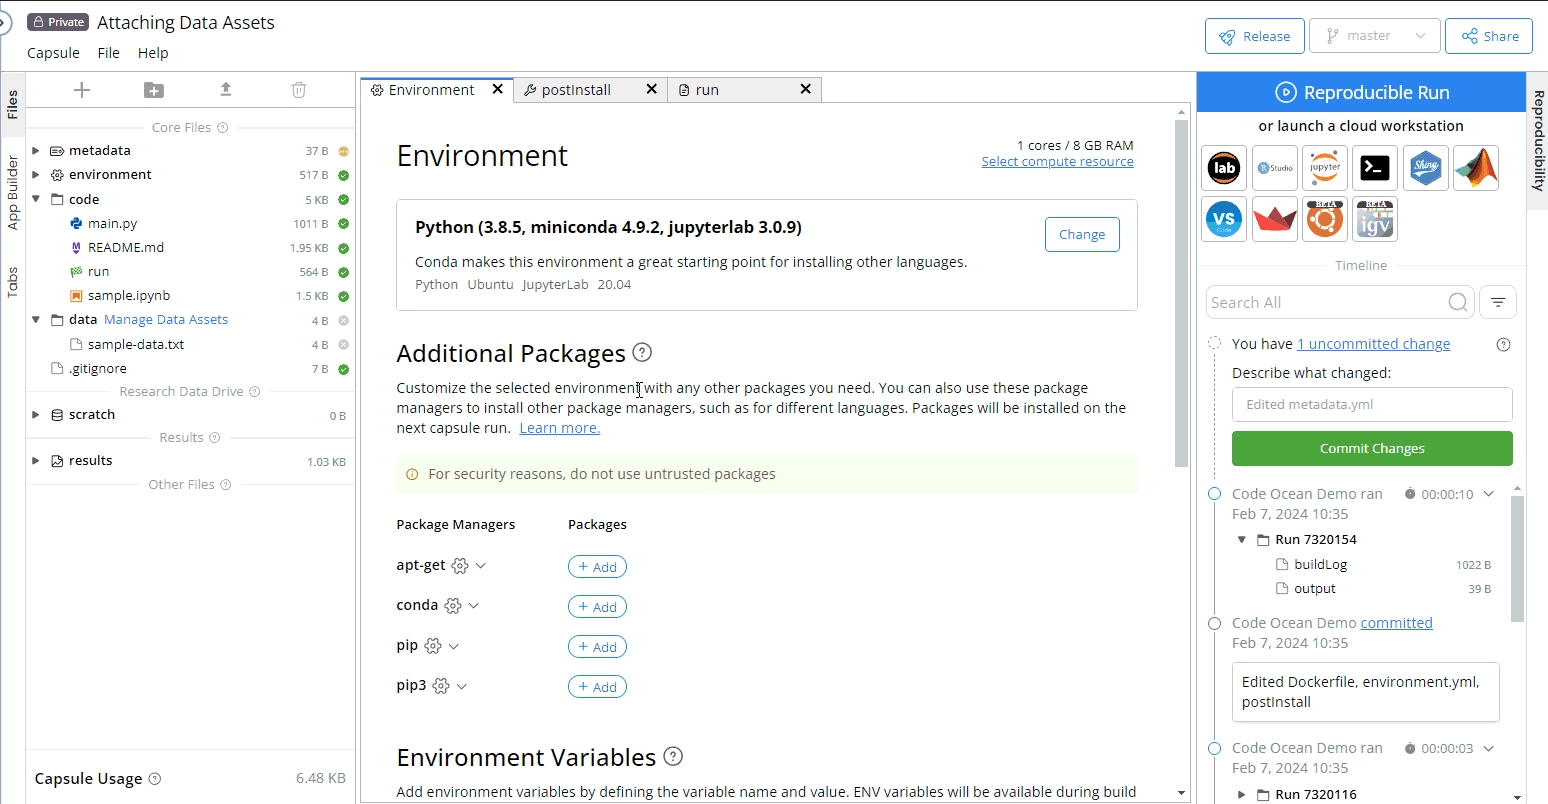
Go to the data folder and click Manage Data Assets.
Attach/Detach Data side panel will appear. Click on the plus sign to attach the Data Asset.
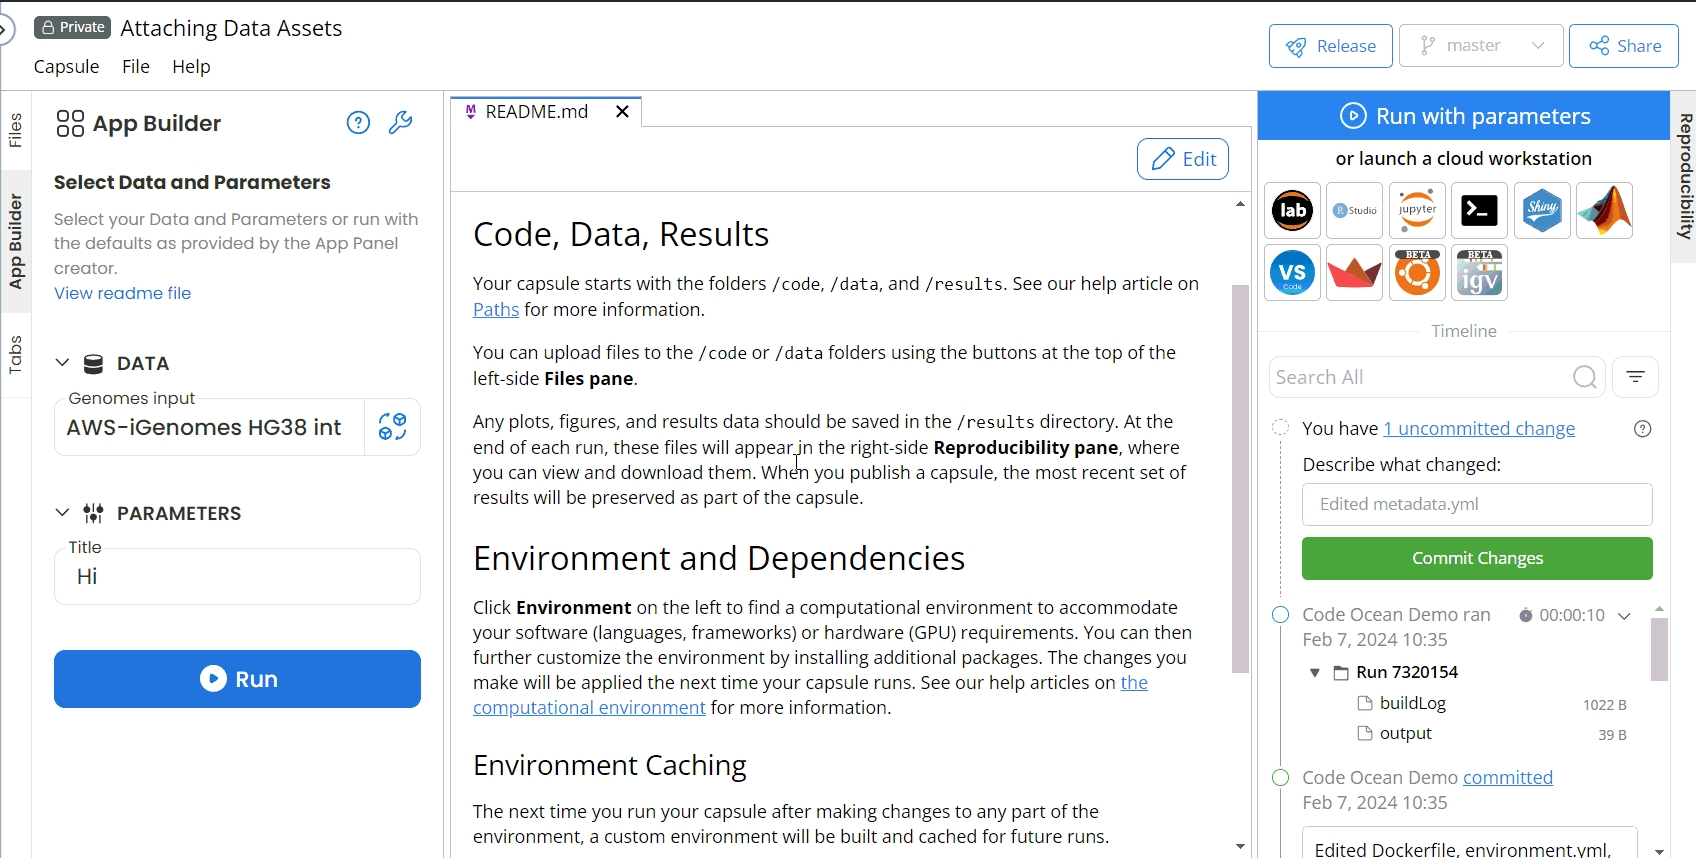
If a Data Asset has been set as default in the App Builder, replace the Data Asset from the App Panel by clicking the replace button.
From a Cloud Workstation (e.g., RStudio, Terminal, or Jupyter)
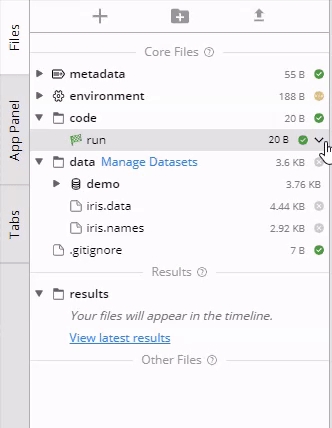
Go to the data folder and click Manage Datasets.
Attach/Detach Data side panel will appear. Click on the plus sign to attach the Data Asset.
When attaching an external Data Asset, the following points should be considered:
To link to an external Data Asset, you need to add the secret or Assumed Role to the Capsule for accessing AWS S3. Check out Accessing a Secret in a Capsule for more information.
Due to AWS S3 behavior, it takes time to reach files.
Viewing the Detail of the Data Asset when attaching
From the Attach/Detach Data page, metadata can be viewed without leaving the Cloud Workstation page.
To retrieve this information:
Hover over the data asset, which does not have to be attached
Click Data Details
While in the Cloud Workstation, the same Data information will display as on the Data dashboard.
Renaming the Mounting Point (Folder)
After you have attached a Data Asset to your Capsule, you can change the name of the mounting point (that is, the folder name) in the Code Ocean IDE.
Hover over the attached dataset under the
/datafolder.Click on the down arrow.
Select Rename.